Beer Ring Recycling Fun
Beer rings are a common sight on store shelves, but they can also be a significant source of plastic waste. Fortunately, there are many ways to reuse and recycle them, from practical to creative. In this blog, we'll explore some fun and practical ideas for repurposing six-pack beer rings.
ORGANIZE CORDS AND CABLES
Have you ever been frustrated by tangled cords and cables? One solution is to use beer rings to keep them organized. Simply wrap cords and cables around the ring, and secure the end in place by tucking it under one of the rings. This method can work well for everything from charging cables to headphone cords.
CREATE COASTERS
If you're looking for a quick and easy DIY project, consider making coasters out of six-pack rings. Simply cut the rings apart and stack them together, then glue or sew them in place. You can get creative with the colors and patterns of the rings, or even paint them to match your decor.
BUILD A BIRD FEEDER
Want to attract some feathered friends to your backyard? Use six-pack rings to create a DIY bird feeder. Start by stringing several rings together, then tying them to a tree branch or other support. Fill the rings with birdseed, and watch as your new bird feeder attracts all sorts of winged visitors.
MAKE A WREATH
Looking for a unique way to decorate your home? Consider making a wreath out of beer rings. Simply glue or tie the rings together in a circular shape, then add any embellishments you like, such as ribbon or flowers. This project can be a fun way to get creative with colors and patterns.
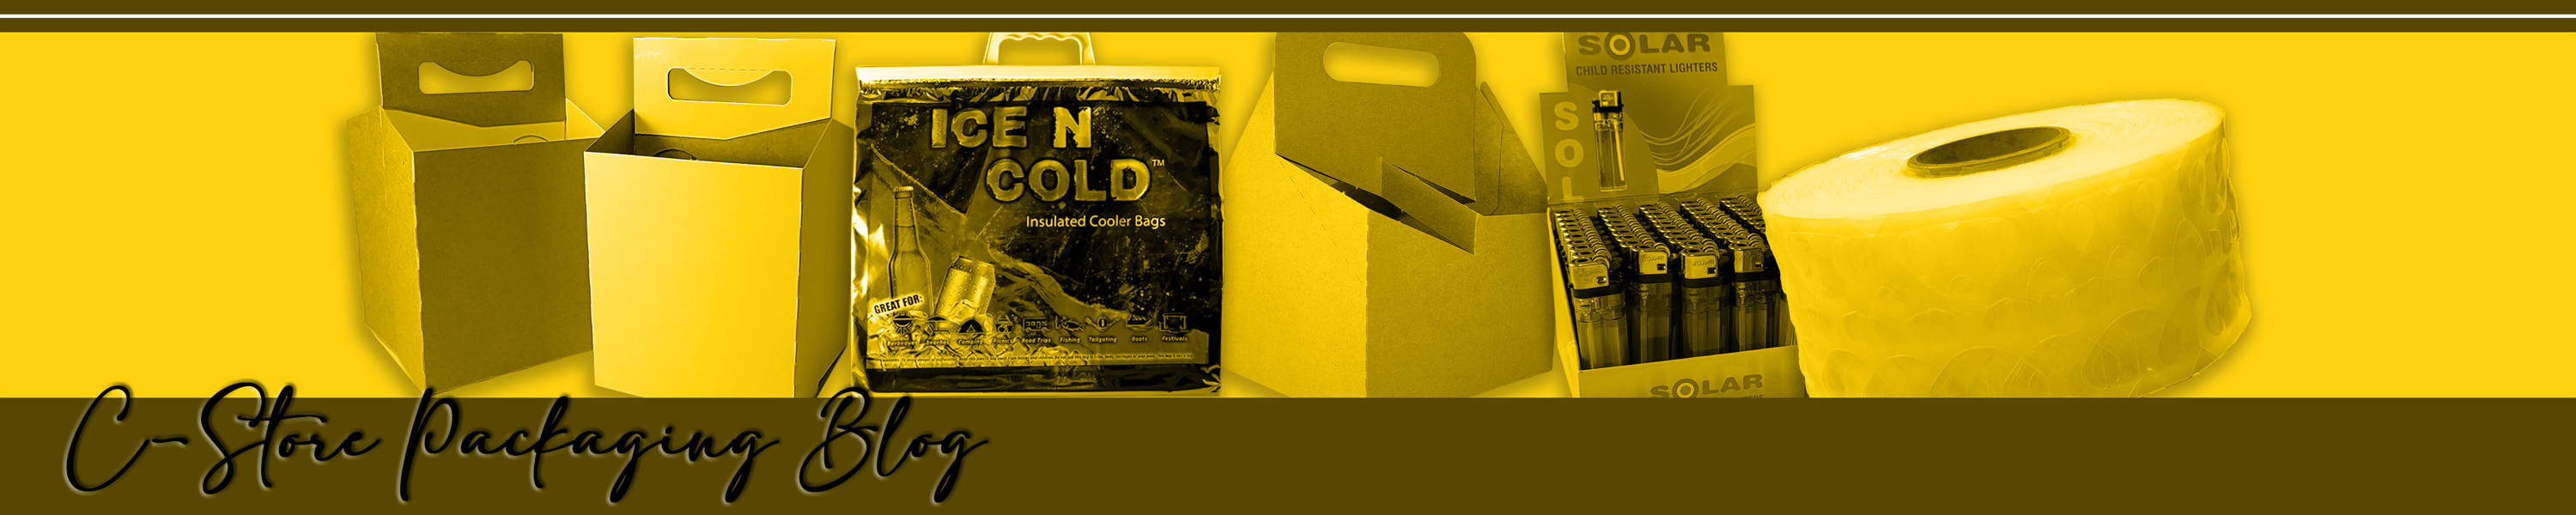
MAKE A SNOWFLAKE
MATERIALS
18 Plastic six-pack carriers
Slimline Stapler and staples
White glossy spray paint
Glitter
White quilting or carpet thread and needle
Gold or Silver spray paint (may be used for highlighting)
CONSTRUCTION
1. Fold each holder in half lengthwise and staple circles together at each end at top edge and one end.
2. Staple 9 holders together at top edge to form a large circle. Staple both sides.
3. Run a double thread through the middle of each side, draw tight and tie off.
4. Place the flat side of each snowflake together and staple ends of each holder together.
5. Spray one side at a time with white paint and sprinkle with glitter before the paint dries.
6. Add clear fishing line for hanger.
You have just saved 18 plastic drink holders from being trown into the landfill or a lake for a fish or bird to swallow.
FROM: Sue L. (Originally Published 9/23/2002)
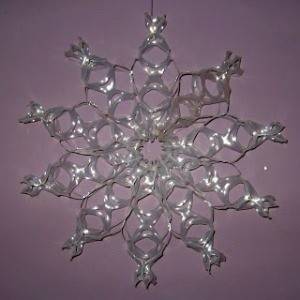
CROCHET A TOWEL HOLDER
MATERIALS
2-3) ozs of white T-shirt cut into 1/4 inch wide strip and stretched to curl into t-yarn
Here is my t-yarn or tarn tutorial on how to make yarn from recycled t-shirts.
1) plastic ring cut from a plastic six-pack holder
1) 5/8 inch button
Small amount of fingering or thread yarn for trim
Hook:J (6 mm) size metal hook
DESCRIPTION
T-yarn Towel Ring Holder
Holder measures 4 inches wide and 7-1/4 inches long when buttoned

MAKE A HAMMOCK
MATERIALS
75+ Plastic six-pack carriers
Clothesline
2 Wood sticks
2 Metal rings
2 “S”-hooks
TOOLS
Scissors
Saw
Drill and 5/16-inch bit
CONSTRUCTION
First detrmine the size of the hammock you are going to make. If you have selected a place to hang the hammock, measure the distance between the two hanging points. The “body” or people part of the hammock should be about half that dimension. The harness that supports the hammock at either end will take up the rest of the length.
A good two- or three-kid size hammock (as shown in the photograph) can be made from 90 six-pack carriers— nine across and ten long. The body of the hammock and the harness are both made at the same time by weaving clothes line through the holes in the plastic carriers. The hammock is woven one lengthwise row at a time. Lay out a single row of carriers to the length of the hammock body you want. Place the carriers lengthwise so that their end “circles” interweave and partially overlap.
Cut a length of clothesline cord a few feet longer than the entire length of the hammock (body and harness). Weave the clothesline the length of the row through the holes in the carrier where they overlap. Weave the cord over, through, under, up, over, through, under, up, Fig. 2. Adjust the clothesline so that there are equal lengths of cord at either end.
Continue to add rows of carriers in the same way until the hammock is the width you want. After the last row, weave another length of clothesline through the circles along each of the two outside edge rows.
Lay the hammock flat and square on the floor. To make the “spreaders” — the devices used to keep the ropes separate from one another— find two flat sticks and cut each of them a few inches longer than the width of the hammock. Place one of the sticks at each end of the hammock body and mark the positions of the ropes on the stick. Drill a hole at each mark down the center of the sticks. The holes should be large enough for the rope to go through easily.
Carefully make a single loop knot on each cord where it leaves the body of the hammock. Do this on both sides of the hammock. Place a spreader at each end of the hammock and thread the ropes in order through the holes in the spreaders.
Push the spreaders up against the knots. Using two more lengths of clothesline cord, weave the end circles of the carriers to the spreader sticks. Tie the cord at each end of the stick, Fig. 3.
Gather the cords at one end of the hammock and bring them together at the end. Tie each cord individually to a large ring, being sure to adjust each cord so that the hammock will lie flat on the floor with no cords kinking. Snip off any excess cord ends.
You can hang the hammock directly to the support eye hooks using “S” hooks, or using two more “S”-hooks and two short lenghts of chain, you can make the hammock height adjustable.
The SIX PACK HAMMOCK requires no maintenance and can be used outdoors year round. IT is strong and safe for adults as well as kids.
FROM: pakitproducts.com/
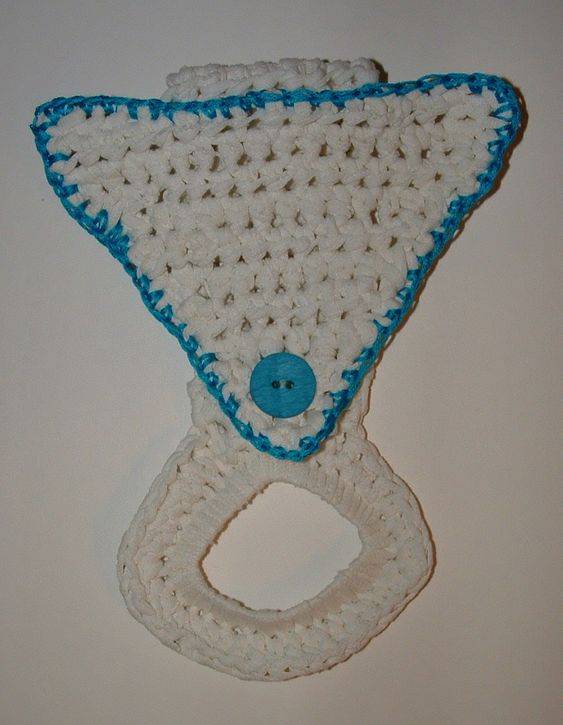
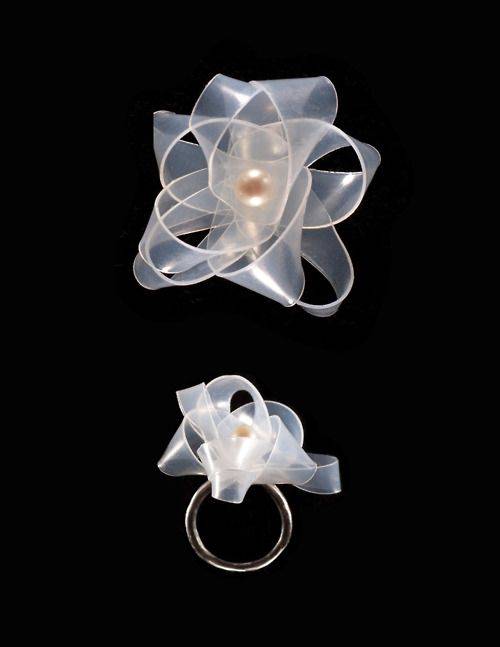
VARIOUS JEWELRY IDEAS

NECKLACE - SOURCE UNKNOWN
DONATE THEM
If you don't have the time or inclination to repurpose beer rings yourself, consider donating them to a local recycling program or community center. Many organizations are happy to collect and recycle six-pack rings, as they can be turned into all sorts of useful products, such as new packaging materials.
If you choose not to repurpose your plastic rings, it's crucial to dispose of them properly to prevent them from ending up in oceans and waterways, where they can harm marine life. By cutting them into small pieces and placing them in the recycling bin, or seeking out specialized recycling programs, you can help to reduce the amount of plastic waste that ends up in the environment. So the next time you finish off a six-pack, remember to get creative or recycle responsibly!